Website Dev Installation
Table of Contents
- Quick start (for repeat installs)
- Dev environment setup
- Running the website locally
- Developing the website
This website is built in Jekyll, which is a static site generator built in the Ruby language. You do not need to know Ruby to build sites with Jekyll but you do need to know markdown and html/css.
We use a Jekyll template called ‘Just the Docs’.
Quick start (for repeat installs)
If you’ve done this before and just need the commands:
git clone https://github.com/makeabilitylab/physcomp.git
cd physcomp          # ⚠️ All bundle commands must be run from inside this folder!
bundle install
bundle exec jekyll serve
Then open http://127.0.0.1:4000/physcomp/. If something goes wrong, see the detailed platform-specific instructions below.
Common mistake: Running
bundle add webrickorbundle installfrom your home directory (~) will fail withCould not locate Gemfile. Alwayscd physcompfirst.
Dev environment setup
Below, we will walk you through dev environment setup on both Mac and Windows.
Regardless of which platform you’re using, the first step is to clone the physcomp repo. Open your command prompt and run:
> git clone https://github.com/makeabilitylab/physcomp.git
Note: I use GitHub Desktop, which I strongly recommend. VSCode also has built-in git support.
Mac
Installing the prerequisite libraries and setting up your dev environment is easy on the Mac (much harder on Windows).
Follow official installation guide
For MacOS, simply follow the official installation guide. Because you have to install the XCode development environment, Homebrew, Ruby, and Jekyll, this installation process may take ~1 hour (depending on your download speeds).
Follow the installation guide closely. I did each step except for I skipped the rbenv part (as I only use Ruby for Jekyll, no need for selecting between multiple Ruby versions on my dev environment).
Note on Ruby version: Homebrew will install Ruby 3.x (currently 3.4.x as of early 2026). This works fine with Jekyll 4.4+.
Install Jekyll globally
Once Ruby is installed, run:
> gem install jekyll
As of Jekyll 4.4+, this also installs webrick automatically, so you do not need a separate bundle add webrick step.
cd into physcomp, then run ‘bundle install’
⚠️ All
bundlecommands must be run from inside thephyscompfolder. Running them from your home directory (~) will fail withCould not locate Gemfile.
Change into the physcomp directory and run bundle install:
> cd physcomp
> bundle install
Note: I typically do this from within VSCode’s Terminal.
Run ‘bundle exec jekyll serve’ in physcomp dir
Finally, from within the physcomp folder, type:
> bundle exec jekyll serve
And that’s it! Hopefully the server will be running at http://127.0.0.1:4000/physcomp/.
Potential problems
webrick missing error (older Jekyll / Ruby 3.0)
If you see an error like the following when running bundle exec jekyll serve:
/usr/local/lib/ruby/gems/3.0.0/gems/jekyll-3.9.0/lib/jekyll/commands/serve/servlet.rb:3:in
  `require': cannot load such file -- webrick (LoadError)
This means webrick isn’t in your bundle. Fix it by running (from inside physcomp!):
> bundle add webrick
> bundle exec jekyll serve
This was required for Ruby 3.0+ with older versions of Jekyll. With Jekyll 4.4+, webrick is included automatically and you should not need this step.
“Could not locate Gemfile” error
Could not locate Gemfile
This means you ran a bundle command from the wrong directory. Make sure you cd physcomp first.
“bundle exec jekyll serve” ran successfully once but now shows the old theme
If the remote theme (just-the-docs) isn’t updating, try stopping the server (Ctrl-C) and running with --incremental disabled:
> bundle exec jekyll serve --no-incremental
Windows
I have tried to get Jekyll installed in Windows in the past and failed. It’s unfortunately complicated. Indeed, the Jekyll website says that Windows is not officially supported:
While Windows is not an officially-supported platform, it can be used to run Jekyll with the proper tweaks.
However, here’s how I eventually got it to work. These instructions have since been replicated by me (Jon) and Liang. Yay!
Download and run Ruby Installer
First, although this documentation is old, I started with this Run Jekyll on Windows guide. The first step states to Install Ruby via the rubyinstaller.org website and then to install the Ruby Devkit; however, the most recent versions of Ruby Installer for Windows also allows you to install the Devkit. So, that’s what I did.
Specifically, I downloaded and installed the Ruby+Devkit installer (as of early 2026, Ruby+Devkit 3.4.x (x64) is recommended; Ruby 4.0 is also available but may have compatibility issues with the github-pages gem). According to the RubyInstaller website, this “provides the biggest number of compatible gems and installs the MSYS2 Devkit alongside Ruby, so gems with C-extensions can be compiled immediately.”
When the Ruby Installer command prompt asks you which option to install (see screenshot below), just press ‘Enter’.
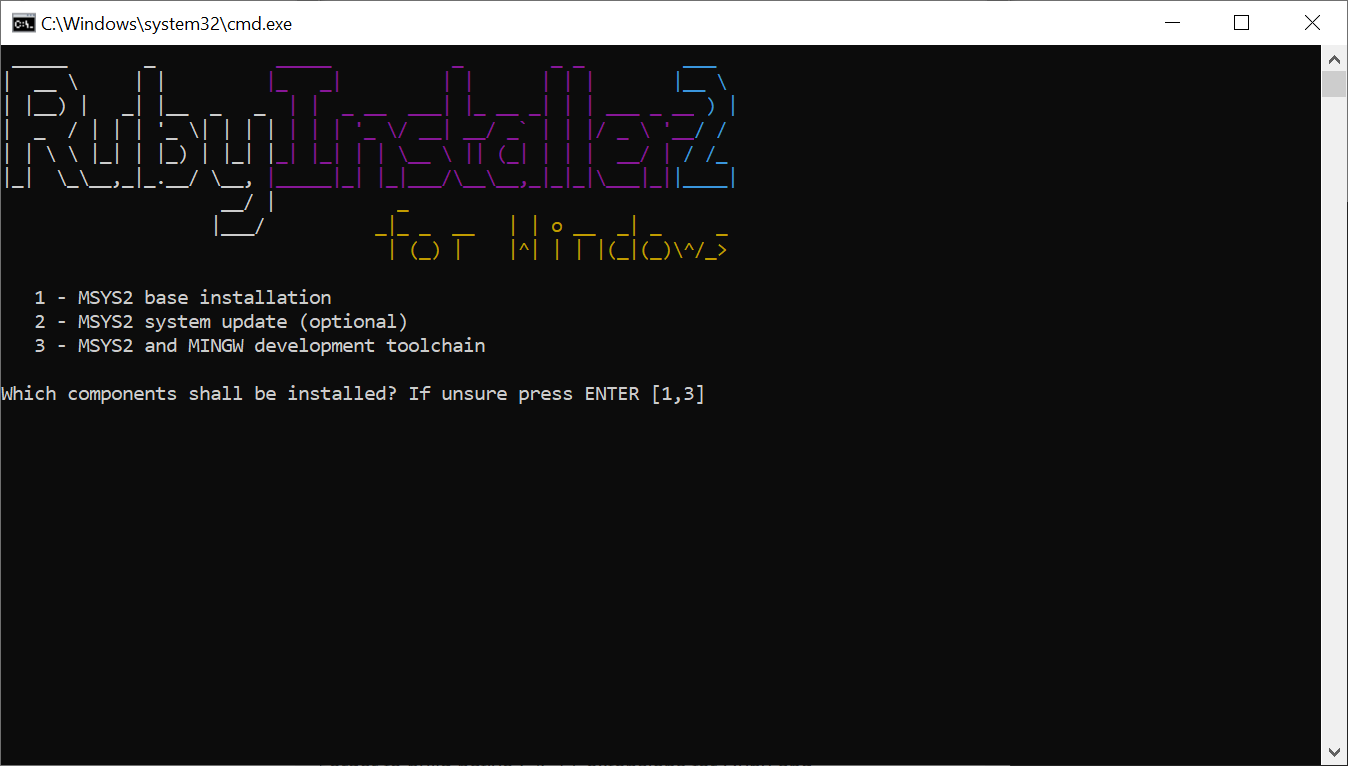 Figure. When prompted, just hit enter to accept defaults.
You may be prompted a second time. Again, just press ‘Enter’.
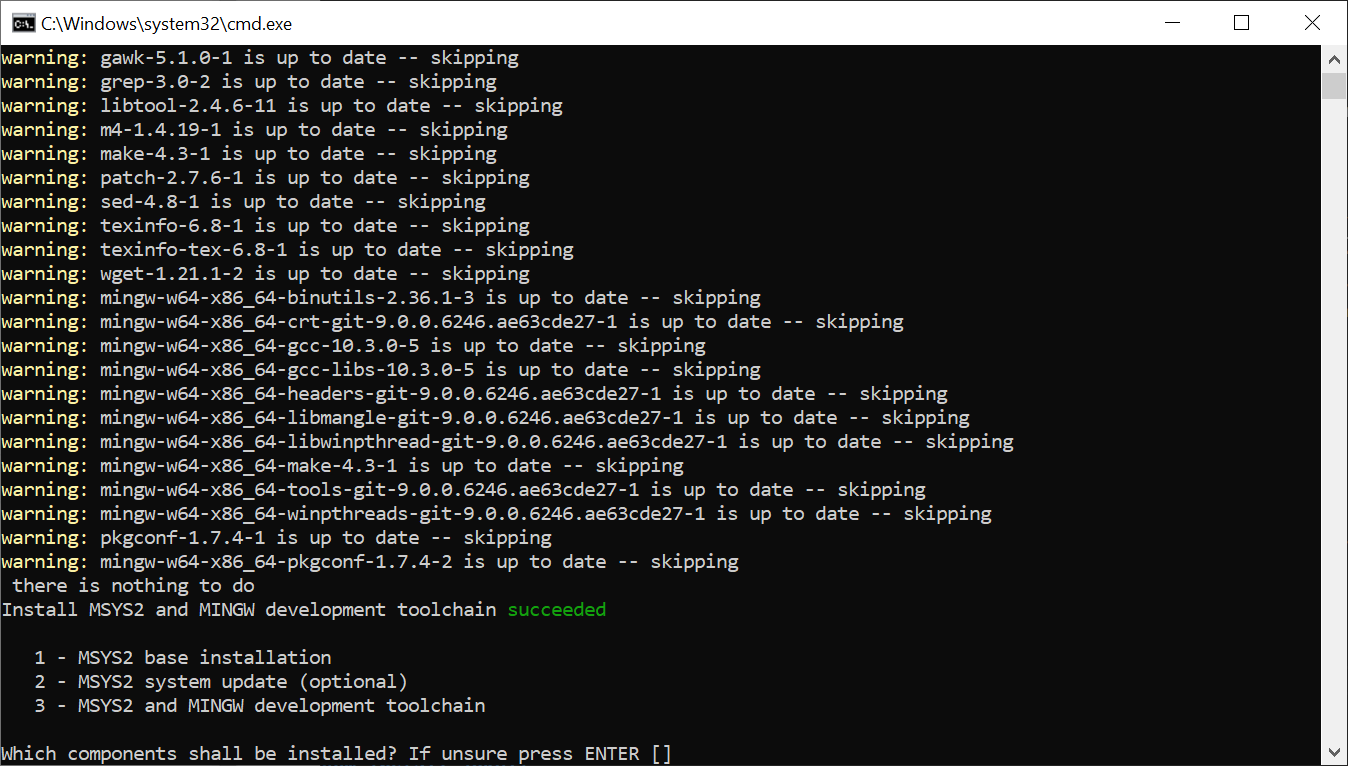 Figure. If prompted again, just hit enter to accept defaults.
When the Ruby Installer finishes, it just disappears. So, on to the next step!
Run ‘gem install jekyll’
Second, I then opened Windows Powershell and typed gem install jekyll:
gem install jekyll
Fetching jekyll-4.1.1.gem
Fetching mercenary-0.4.0.gem
Successfully installed mercenary-0.4.0
Successfully installed jekyll-4.1.1
Parsing documentation for mercenary-0.4.0
Installing ri documentation for mercenary-0.4.0
Parsing documentation for jekyll-4.1.1
Installing ri documentation for jekyll-4.1.1
Done installing documentation for mercenary, jekyll after 16 seconds
2 gems installed
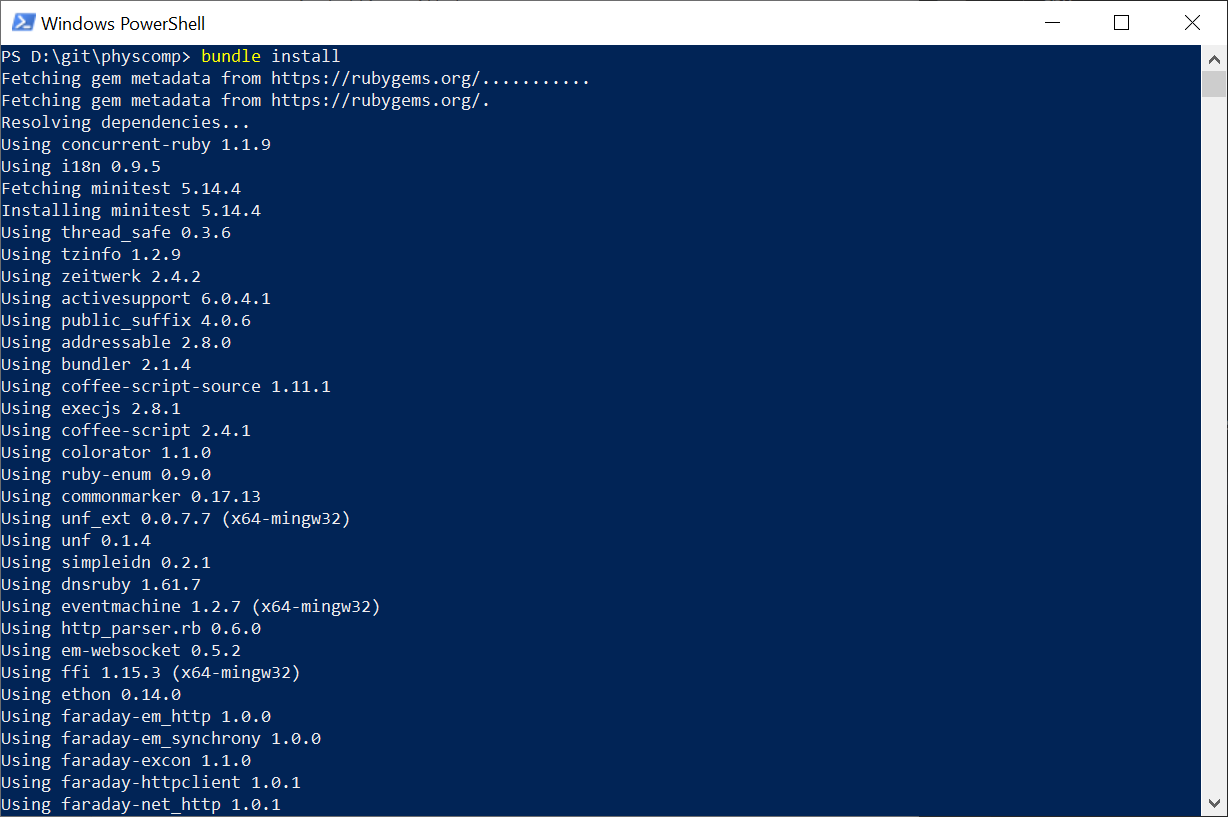
Here’s a screenshot:
 Figure. A screenshot of PowerShell running the
 gem install jekyll command.
Run ‘gem install github-pages’
Third, I then tried to install github-pages via: gem install github-pages. So, run:
> gem install github-pages
This worked well on some of our Windows systems but others failed. If this succeeded for you, great! Skip to the next step. If not, see the troubleshooting section below.
Troubleshooting: Error installing github-pages (Nokogiri)
When running `gem install github-pages`, you may encounter an error about Nokogiri versions: ``` ERROR: Error installing github-pages: The last version of nokogiri (>= 1.10.4, < 2.0) to support your Ruby & RubyGems was 1.10.9. Try installing it with `gem install nokogiri -v 1.10.9` and then running the current command again nokogiri requires Ruby version >= 2.3, < 2.7.dev. The current ruby version is 2.7.0.0. ``` So, I tried: ``` > gem install nokogiri -v 1.10.9 ERROR: Error installing nokogiri: The last version of nokogiri (= 1.10.9) to support your Ruby & RubyGems was 1.10.9. Try installing it with `gem install nokogiri -v 1.10.9` nokogiri requires Ruby version >= 2.3, < 2.7.dev. The current ruby version is 2.7.0.0. ``` But this also failed. And given that I have no idea how hard it would be to downgrade Ruby and whether that would wreck other dependences, I searched the Internet and found this [Issue](https://github.com/sparklemotion/nokogiri/issues/1961) on the Nokogiri GitHub. So, then I tried [this](https://github.com/sparklemotion/nokogiri/issues/1961#issuecomment-581851368): ``` > gem inst nokogiri --pre Fetching nokogiri-1.11.0.rc2-x64-mingw32.gem Nokogiri is built with the packaged libraries: libxml2-2.9.10, libxslt-1.1.34, zlib-1.2.11, libiconv-1.15. Successfully installed nokogiri-1.11.0.rc2-x64-mingw32 Parsing documentation for nokogiri-1.11.0.rc2-x64-mingw32 Installing ri documentation for nokogiri-1.11.0.rc2-x64-mingw32 Done installing documentation for nokogiri after 10 seconds 1 gem installed ``` This worked. Yay! But I still couldn't install github pages, boo! ``` gem install github-pages ERROR: Error installing github-pages: The last version of nokogiri (>= 1.10.4, < 2.0) to support your Ruby & RubyGems was 1.10.9. Try installing it with `gem install nokogiri -v 1.10.9` and then running the current command again nokogiri requires Ruby version >= 2.3, < 2.7.dev. The current ruby version is 2.7.0.0. ``` So, then I just skipped to the final step and ran `bundle install` and things worked. Hope it does for you too! **Note:** This Nokogiri issue was originally encountered with Ruby 2.7. With Ruby 3.4.x, Nokogiri compatibility is much better and you may not hit this at all. If `gem install github-pages` fails, try just skipping straight to `bundle install`.Run ‘bundle install’
⚠️ Make sure you are inside the
physcompfolder before runningbundlecommands. Running from the wrong directory will fail withCould not locate Gemfile.
From the shell, change directories to physcomp. On my machine:
> cd c:\git\physcomp
And then run bundle install:
C:\git\physcomp> bundle install
Fetching gem metadata from https://rubygems.org/...........
Fetching gem metadata from https://rubygems.org/.
Resolving dependencies.....
Using concurrent-ruby 1.1.8
Using i18n 0.9.5
Fetching minitest 5.14.4
Installing minitest 5.14.4
...
Using github-pages 218
Fetching wdm 0.1.1
Installing wdm 0.1.1 with native extensions
Bundle complete! 2 Gemfile dependencies, 100 gems now installed.
Use `bundle info [gemname]` to see where a bundled gem is installed.
You’ve done it!
Running the website locally
Assuming you have the prerequisite libraries and software infrastructure (e.g., Jekyll), you can open terminal in VSCode and type:
> bundle exec jekyll serve
The website should then be available at http://127.0.0.1:4000/physcomp/.
Bundle exec fails in VSCode terminal
If you receive an error like the following, you may need to restart your computer (not just VSCode).

Try the new cross-platform PowerShell https://aka.ms/pscore6

PS D:\Git\physcomp> bundle exec jekyll serve
bundle : The term 'bundle' is not recognized as the name of a cmdlet, function, script file, or operable program. Check
the spelling of the name, or if a path was included, verify that the path is correct and try again.
At line:1 char:1
+ bundle exec jekyll serve
+ ~~~~~~
    + CategoryInfo          : ObjectNotFound: (bundle:String) [], CommandNotFoundException
    + FullyQualifiedErrorId : CommandNotFoundException
To resolve this error, simply restart your machine, reopen VSCode, and try again. That fixed it for me!
Developing the website
- Download VS Code
- Open the
physcompfolder in VS Code - Use markdown to build new pages. We are using the ‘Just the Docs’ Jekyll template.
- Read more about website dev here